Configuring Keycloak clients for ADS
To enforce authorization and project permissions, a mapper must be configured in Keycloak to map project permissions to claims when ADS is accessing a domain in the domain manager of ASM.
Most of these settings are created automatically during installation. However, a few configuration steps are necessary.
Note: The following information assumes the system administrator has access to the Keycloak administration console. See Logging in to Keycloak for the first time for first-time login instructions.
Step 1: Regenerate a client secret
- Open a web browser window and go to
https://localhost/auth. - Log in to the Keycloak administration console and go to the ASM realm.
- In the Configure section on the left, click Clients.
- Go to the Client Configuration page for the client.
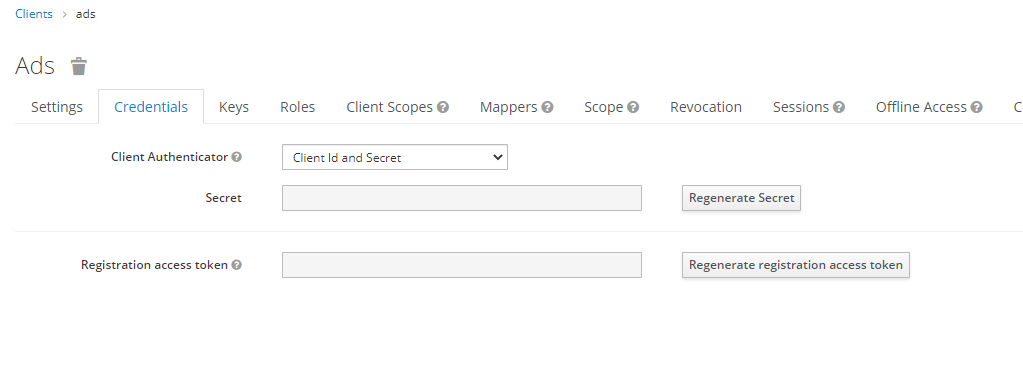
- Go to the Credentials tab.
- Click the Regenerate Secret button to create a value for the Secret field.

Copy the value of the Secret field to use it in the configuration of ADS. See Authentication using an authorization server for more information.
Step 2: Update the mapper for the namespaces claim
- Access the Mappers tab of the Client Configuration page.
- Go to the Namespaces mapper.

- In the field Claim value, list the namespaces, which in ASM are equivalent to projects, that the client should have access to (a JSON Array of strings: [ "ns1", "ns2" , "ns3" ]).
- Click Save to save the mapper.
This concludes the configuration of the Keycloak client for ADS.