Quick start
This guide walks you through the core workflow for defining and managing Attribute-Based Access Control (ABAC) policies in the Authorization Hub. It covers the essential steps, from defining attributes to creating a deployable authorization domain.
Your starting point - Projects
After logging in, you land on the Projects page that lists every project you belong to.
Projects are isolated collaboration spaces. Each team works within its own project, so your configurations never interfere with another team's work.
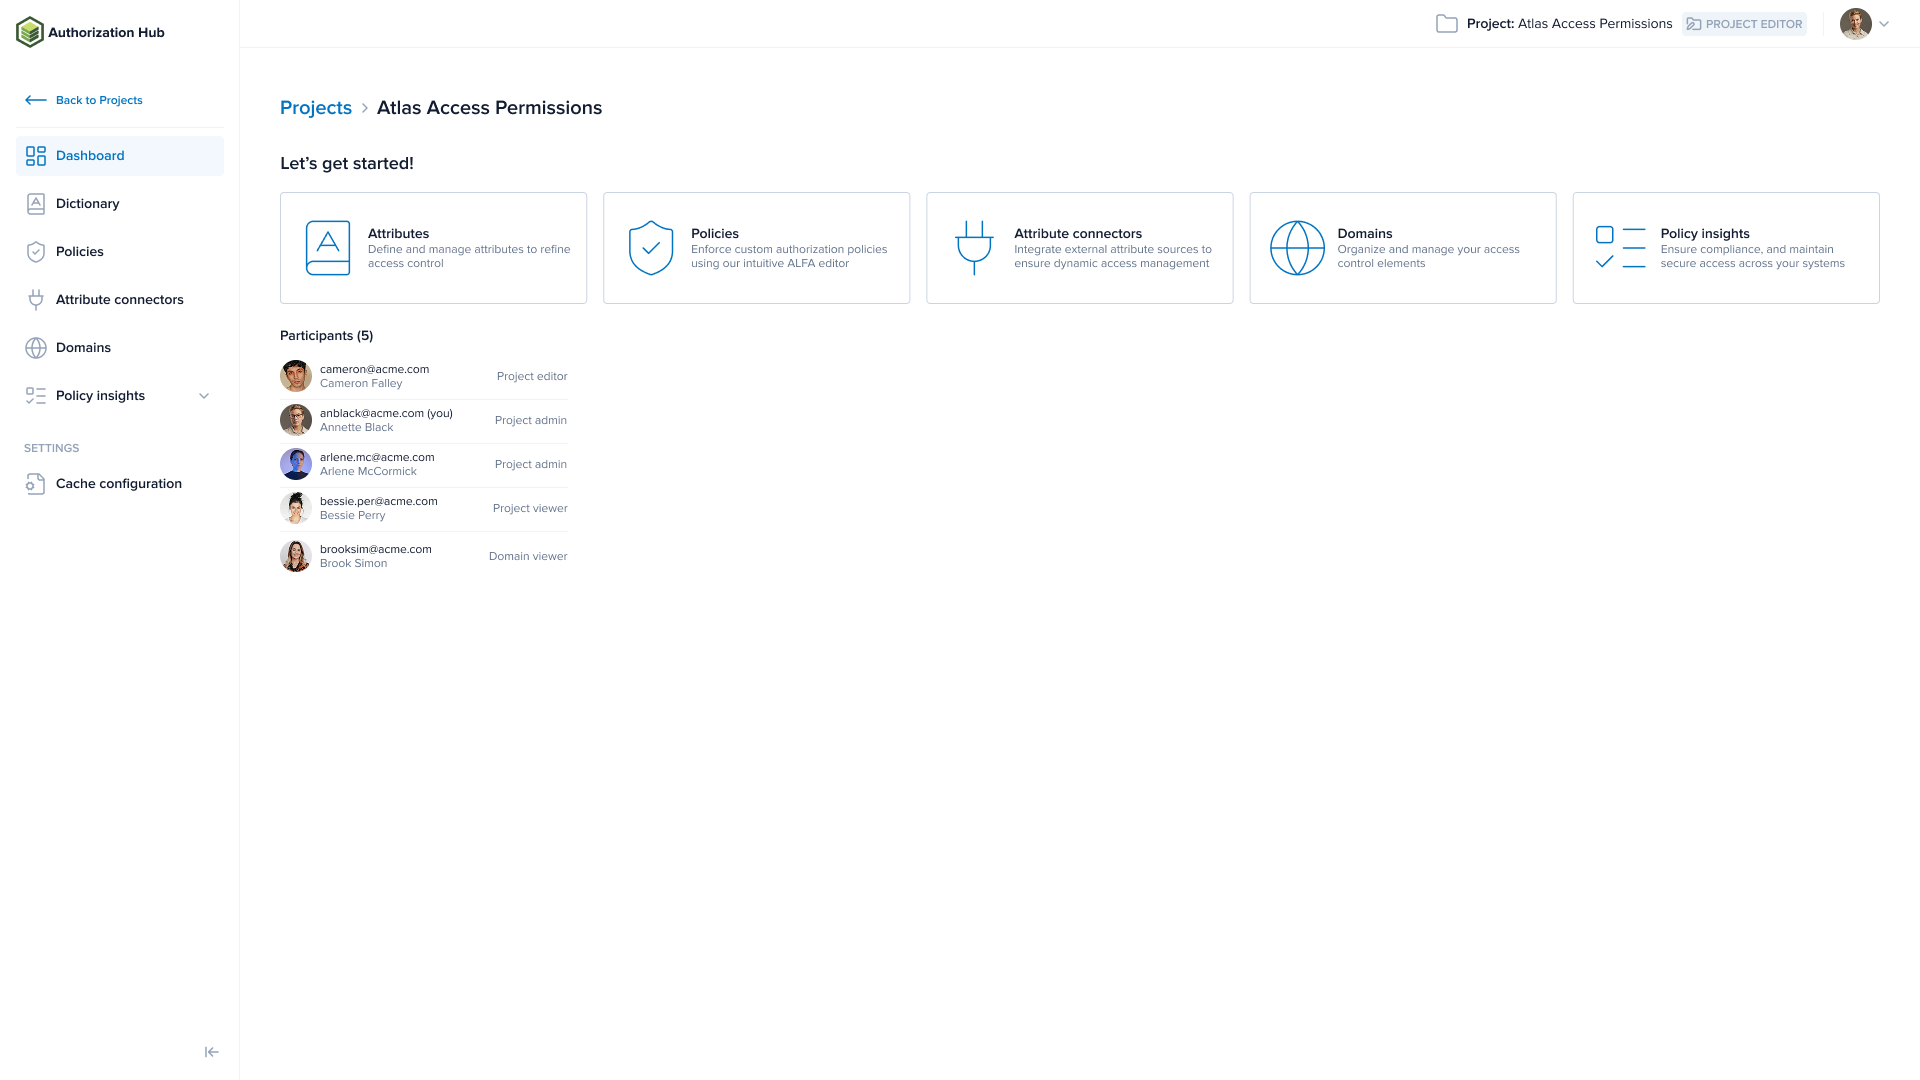
Click a project name to open it. You land on the Dashboard, which gives you a centralized view of the project's attributes, policies, connectors, and domains.
The four-step workflow
The four steps below build on each other and each step produces an output that the next step depends on. Work through them in order.
Step 1 - Define attributes in the Dictionary
Open the Dictionary page and define the attributes your policies will use. Attributes are the building blocks of ABAC: they describe the subject (user), action, resource, and context of every access request.
You can also define attributes through the API. Read Dictionary for details.
Step 2 - Author policies
Open the Policies page and write policies in the ALFA language. Policies define the rules that grant or deny access based on the attributes you defined in step 1.
The Dictionary's current state is always available as a read-only attribute-dictionary.alfa file in the ALFA resources panel, so the editor can offer auto-completion on your attribute names.
Step 3 - Configure attribute connectors
Policies reference attributes by name, but the Policy Decision Point (PDP) must know where to fetch the actual values. Attribute connectors answer that question. Open the Attribute connectors page and configure attribute connectors for any attributes whose values must come from external systems at runtime. For example, a user's department from an LDAP directory, or a resource's classification from a database.
Step 4 - Compose a domain
Open the Domains page and bundle your policies, attributes, and attribute connectors into an authorization domain. The PDP fetches this domain configuration and uses it to evaluate access requests.
A domain lets you use different configurations for different purposes. For example:
| Domain | Purpose |
|---|---|
app1-test | Test environment for Application 1 |
app1-prod | Production environment for Application 1 |
app2-prod | Production environment for Application 2 |
Each domain specifies its own policy entry point and attribute connectors, so the same underlying policies can behave differently per environment.