User management
Authorization Hub uses three platform-level roles to manage access and permissions:
-
Tenant admin: The first user to access Authorization Hub, granted complete access to its features. Has full access to all features, including user authentication configuration through Keycloak.
-
Admin: Can create and manage authorization components (attributes, attribute connectors, domains, and policies), assign/remove users, and transferring ownership.
-
User: Can create and manage authorization components (attributes, attribute connectors, domains, and policies), but cannot manage other users.
| User | Admin | Tenant admin | |
|---|---|---|---|
| Manage authorization components | ✔️ | ✔️ | ✔️ |
| Manage users | ❌ | ✔️ | ✔️ |
| Configure user authentication | ❌ | ❌ | ✔️ |
Before inviting users, configure user authentication. Read User authentication for instructions.
Invite and manage users
Admins can invite new users to the Authorization Hub, manage existing accounts, and change user statuses.
User status
-
Invited: Received an invitation but has not logged in yet.
-
Active: Has accepted the invitation and is using Authorization Hub.
-
Inactive: Deactivated by an admin.
noteAn inactive user can regain access to their account if an admin resends an invitation.
Invite users
-
Click Invite users on the upper right corner.
-
Add the email of the user you want to invite.
tipAdd multiple users at once by pressing
Enter ↵orSpace ⎵after each address, or paste a comma-separated list. -
Select a role from the dropdown.
-
Click Send invite.
Authorization Hub sends an invitation email. Depending on whether an IdP is configured, the email either instructs the user to log in through the IdP or to set a password.
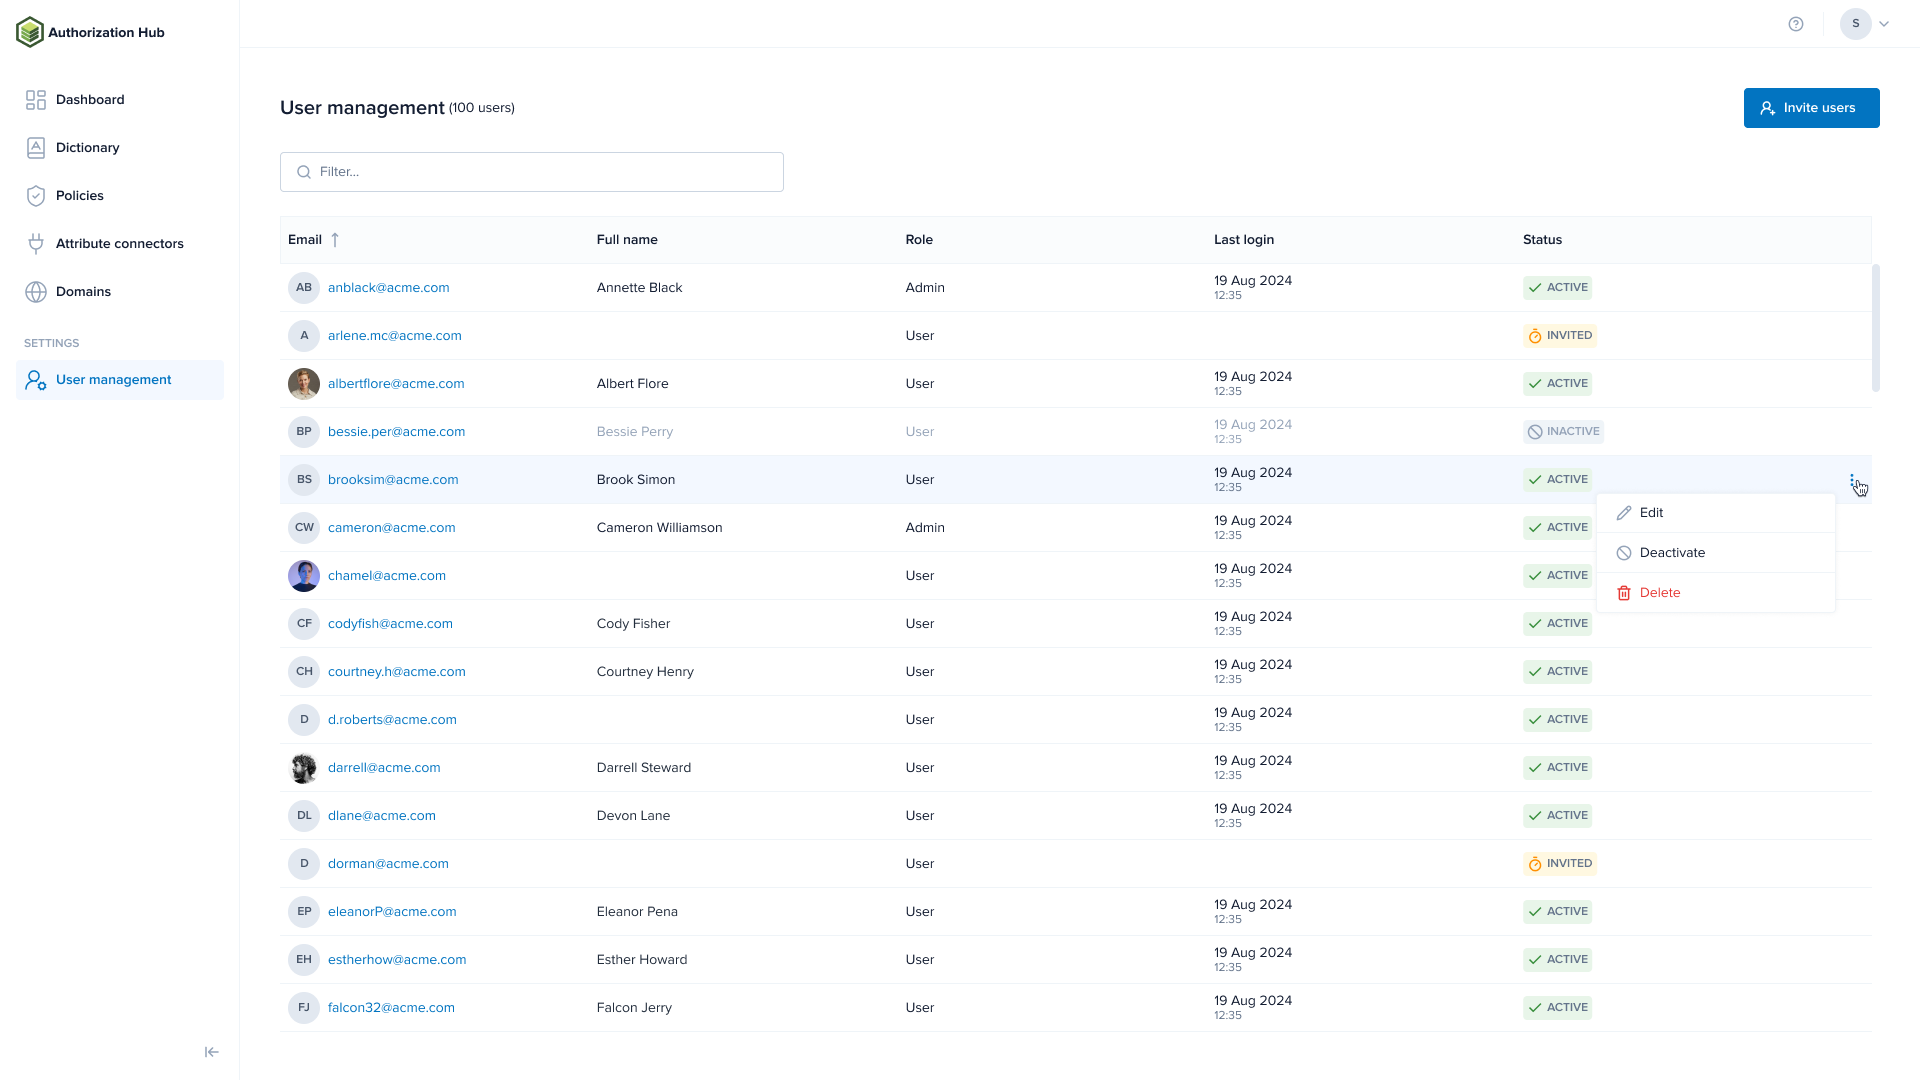
Manage users
-
Use the filter field on the top to refine the user list.
noteThis is a dynamic field and returns relevant results as you type.
-
Click the actions button (three dots) on the right side of the user's row.
-
Choose an action:
-
Edit: Change the user's role.
warningRole changes take effect after the user logs out and back in, or after 30 minutes of inactivity.
-
Resend invitation: Send another invitation email to a user whose status is Inactive.
-
Deactivate: Deactivate the account of a user whose status is Active or Invited.
-
-
Confirm your action.
Click any column header to sort the list. Click the same header again to reverse the sort order.
Handling invitation email delivery failures
Tenant admins and admins manage users from the User management screen. The system automatically links each Authorization Hub account to a Keycloak account. If Authorization Hub is deployed without a configured SMTP server, invitation emails cannot be sent. The UI shows a notification confirming the delivery failure. To complete user setup manually, follow the steps below based on whether an IdP is configured.
If an IdP is set up
- Manually notify the new user and provide the Authorization Hub URL.
- The user logs in through the IdP.
If no IdP is set up
- Set a temporary password for the linked Keycloak user account.
- Append
../auth/admin/hub/console/to the URL of your Authorization Hub deployment. - Go to Manage > Users.
- Click the user and open the Credentials tab.
- In Set password, enter a new password and make sure Temporary is ON.
- Click Set password.
- Append
- Manually notify the new user providing them with the necessary login credentials.
- The user logs in successfully.
- Authorization Hub prompts the user to set up a new password immediately after their first login.